Setup a Certificate of Completion, Diploma or Other Important Documents for Your Members After Achieving a Goal

With our image generator + text you have the ability to overlay messages over your existing graphics.


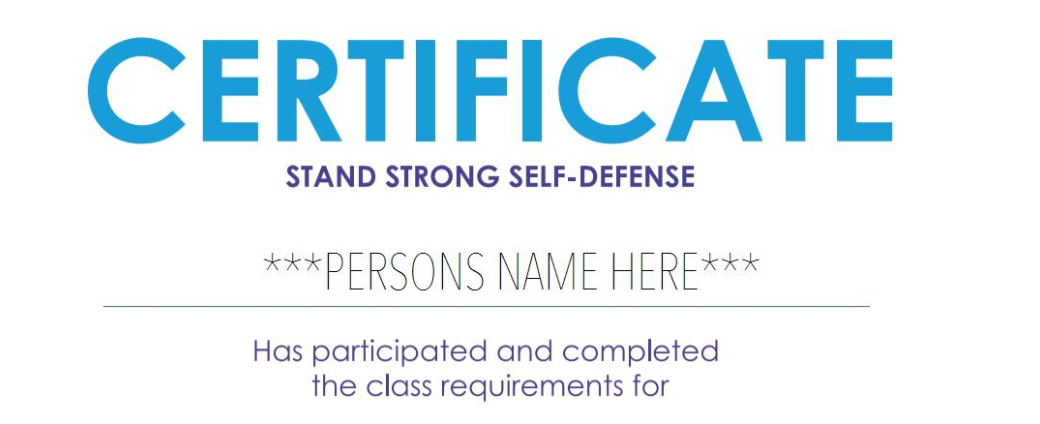
First, start with an image (preferably a PNG) that contains the information you want to display, along with a blank spot to enter the user specific information.  **Please note that if your graphic is currently in PDF format (or anything other than PNG, JPG or GIF), you will need to grab a screenshot of the item and save as PNG.

Upload that to your media library and grab the URL.  Make sure you set the permissions to public as the image generator can't login on behalf of someone.  

Once uploaded, you can now overlay your message.  Start by grabbing the URL of the graphic you uploaded.  Then construct the URL as such:

  • The base will start with your domain name followed by /image/overlay? (e.g. https://client.clients.peoplevine.com/image/overlay?) 
  • Append any or all of the following attributes (where main_image is the only thing required):
    • main_image - the file you just uploaded
    • size - the font size of the first text (drawText)
    • color - the color of the first text
    • drawText - the text to draw on the image
    • text_x - where to place the text (x position)
    • text_y - where to place the text (y position)
    • font - reference an existing font (advanced use case)
    • centered - true or false if we should center the text at that position or start it there
    • drawText2- the text 2nd set of text to draw on the image
    • text2_x - where to place the 2nd set of text (x position)
    • text2_y - where to place the 2nd set of text (y position)
    • size2 - the font size of the 2nd text (drawText2)

You may need to test the x and y positions along with font size to identify the best experience, just continue to construct your URL with these changes until you've found a perfect match.   At which point you can leverage that URL along with filling in the blanks with HAPI variables, for creating a quick way to customize a document for a person.

An example of the URL is:

https://client-name.clients.peoplevine.com/image/overlay?size=32&color=000&drawText=***PERSONS%20NAME%20HERE***&main_image=https://peoplevine.blob.core.windows.net/media/...&text_x=825&text_y=425&font=/fonts/Avenir.ttc&centered=true&drawText2=***DATE%20HERE***&text2_x=250&text2_y=780&size2=18

Additional Help Tutorials

Find more ways to grow on PeopleVine.

Configure Salto to Work with Peoplevine Check-In

Follow these steps to configure your Salto to auto Check-In members when they use a Salto keycard.

Posted January 12, 2024

Detailed Member Statements & Billing

Unveiling Peoplevine's Member Statements & Billing feature: a comprehensive tool ensuring utmost transparency, simplicity, and efficiency in every financial transaction for both members and operators.

Posted September 28, 2023

New and Improved Timeline View

Dive into Peoplevine's My Schedule Timeline View: a feature designed to bring unmatched convenience and clarity to members' and guests' schedules, centralizing everything from dining to events.

Posted September 28, 2023

Spa & Wellness Booking with Book4Time Integration

Experience the perfect synergy of Peoplevine and Book4Time: a collaboration that transforms spa and wellness bookings, merging front-end engagement with backend efficiency.

Posted September 28, 2023

Going Global

Discover how PeopleVine's "Global Network" solution is set to revolutionize the hospitality industry by unifying brand experiences across multiple properties, whether globally or within a local region, offering members a seamless digital experience and granting operators unparalleled insights.

Posted September 28, 2023

Override the Guest Pass E-mail with Template

You can replace the e-mail sent to a guest when a guest pass is issued while retaining the necessary links to ensure they can activate it.

Posted September 27, 2023

Transaction Reporting has an Upgrade

We updated the Transaction Reporting screen to provide you with the data necessary to provide a glimpse at your revenue and the necessary data to audit your financials.

Posted September 7, 2023

You Can Set the Time to Process Authorizations

When a charge is processed through your POS, the charge may be Authorized until we capture the tip or at the end of day to handle refunds or changes. In this case, you can now set the time as to when we will process your authorizations.

Posted August 28, 2023

Adding Your Alliants Integration

Follow these steps to connect Peoplevine with your Alliants account for messaging.

Posted August 28, 2023

Setup Your Membership Tiers Based on Age

You can enable your membership tier to be for members between certain ages, when they past that age, they will automatically migrate to the next age tier.

Posted August 22, 2023

Follow these steps to update your Twilio settings to ensure delivery

This article will overview how to setup your brand and campaigns for broader/better delivery.

Posted August 10, 2023

Select Which Transaction Types You Want to Sync with Quickbooks

You're able to select which types of transaction items you want to sync to Quickbooks.

Posted June 14, 2023

Configure your Member Portal to Show Spa and Wellness

Once your Spa and Wellness feature is enabled, you need to configure the following to display on your member portal.

Posted June 14, 2023

Setup a Temporary ID for Hotel Guests

You can allow hotel guests to act as a member during their time at your property by leveraging these settings.

Posted May 23, 2023

© Peoplevine 2024. Powered by PeopleVine. Terms of use | Privacy & cookies